The Canon DM-E1 directional microphone is a small camera-top microphone designed to improve sound when your built-in camera mic is not quite enough. I think of it as a sensible middle step: more focused than the microphones inside most cameras, but far less complicated than building a full wireless or boom setup. If you shoot interviews, travel clips, tutorials, or short behind-the-scenes videos, understanding where it helps matters more than chasing impressive specifications.
The best camera is the one you understand. The same is true of audio equipment. A microphone cannot remove a noisy air conditioner, fix a speaker standing too far away, or turn a distant conversation into studio sound. What it can do is make useful choices about direction, connection, and mounting much easier.
What the Canon DM-E1 actually does
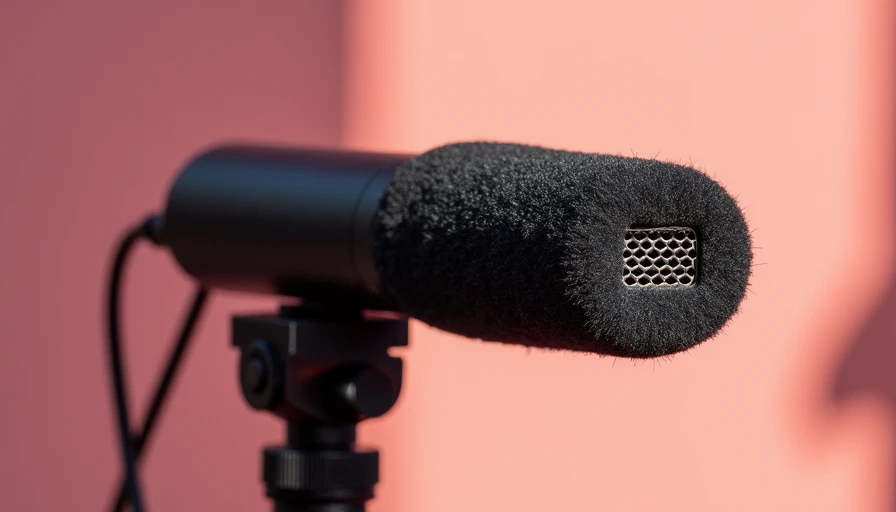
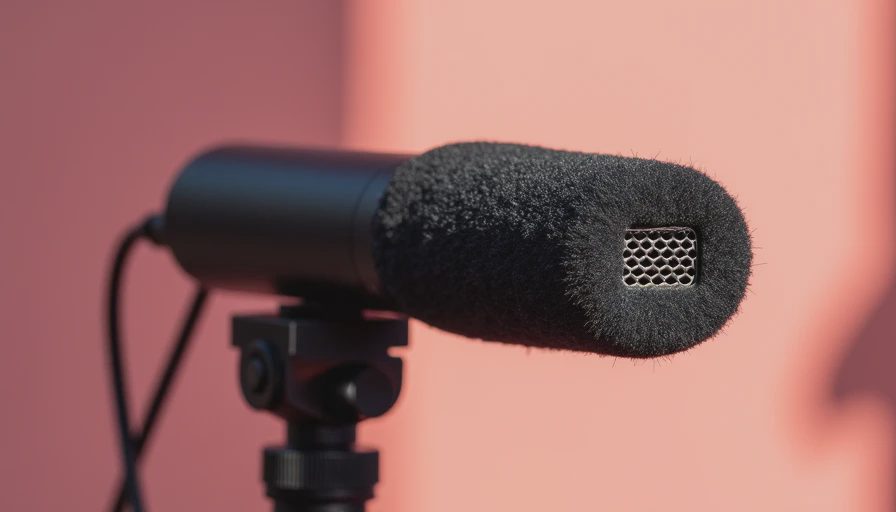
The Canon DM-E1 directional microphone mounts to a compatible Canon camera's accessory shoe and connects through the camera's 3.5mm microphone input. It uses a single AAA battery, which keeps the setup simple when you are working away from an outlet. The supplied foam windscreen helps with light air movement, although it is not a substitute for a proper furry wind cover outdoors.
Its main feature is a selectable pickup pattern. The microphone offers a narrow shotgun setting for sound in front of the camera, along with wider stereo settings intended to capture more of the surrounding scene. In plain English, you can choose between concentrating attention on a subject or preserving more atmosphere from the room. That flexibility is more useful than a microphone that offers only one fixed sound.
A camera-mounted microphone still sits close to the camera, not close to the person speaking. That physical limitation is important. At six feet away, a lavalier microphone clipped to a shirt will usually produce clearer speech than any small microphone mounted above the lens. The DM-E1 is best viewed as an improvement to camera audio, not a replacement for close-miked recording.
Sound quality in everyday shooting
In a quiet room, the Canon DM-E1 directional microphone can give speech a cleaner, more present character than the internal microphone on many interchangeable-lens cameras. The difference is especially noticeable when the camera is several feet from the subject. Voices tend to have less room wash, and handling the camera is less likely to become part of the recording.
The narrow setting is useful for a presenter facing the camera, a speaker at a small event, or commentary recorded from behind the camera. It does not magically isolate a voice from traffic, fans, or nearby conversations. Directional microphones reduce sensitivity to some sounds arriving from the sides and rear, but they still hear the environment. Physics is annoyingly consistent that way.
The wider settings make more sense for a walk through a market, a family gathering, or a scenic video where footsteps and local ambience are part of the story. Stereo information can make footage feel more spacious, but it also captures more background noise. I would not use the widest mode beside a busy street unless I planned to replace or heavily edit the audio later.
Before recording an important project, wear headphones and test each mode. Listen for hiss, clothing movement, traffic, and your own camera handling. A thirty-second test can reveal more than a page of product specifications.
Camera compatibility and setup
The Canon DM-E1 directional microphone is intended for Canon cameras that provide a standard external microphone terminal and a compatible accessory shoe. That does not mean every Canon body works identically. Some cameras supply plug-in power through the audio input, while this microphone uses its own AAA battery, and menu controls differ between models.
Check three things before buying a new or used unit. First, confirm that your camera has a 3.5mm microphone input rather than only a headphone output or no external audio connection. Second, verify that the shoe can physically accept the microphone. Third, make sure your camera menu allows external microphone level adjustment. Manual level control is valuable because automatic gain can raise background hiss during quiet pauses.
Installation is straightforward. Insert the battery, slide the microphone into the shoe, connect the audio cable, switch to the desired pattern, and set a conservative recording level. Leave enough headroom for a laugh, a raised voice, or an unexpected sound. If the camera's meters are constantly reaching the top, lower the input level before recording. Clipped audio cannot be repaired convincingly in ordinary editing software.
Where this microphone earns its place
The Canon DM-E1 directional microphone makes the most sense for a photographer who has started adding video but does not want a separate audio kit. It is quick for a product demonstration, a museum-style travel clip, a simple interview, or a wedding detail video where discretion matters. The shoe mount keeps the camera package tidy, and the selectable patterns give you a practical choice without changing hardware.
For example, imagine recording a ten-minute talking-head video in a quiet office. The microphone can make the voice more direct and reduce some side-room sound. Now imagine filming that same speaker outdoors beside a road. The microphone may still improve the tonal balance, but road noise remains a problem. Moving the speaker closer, using a lavalier, or recording a separate track will make a larger improvement than switching between pickup patterns.
This is also a useful backup microphone for a larger production. If a wireless system loses connection, a camera-mounted track can preserve a usable reference for editing. It may not be the final audio, but it can save a take.
What to compare before you buy
The Canon DM-E1 directional microphone often makes more sense used than new, especially if you already own a compatible Canon body. Used prices depend on battery leakage, missing cables, wind protection, and general condition, so inspect photographs carefully and ask whether the microphone passes a recording test. A low price is not a bargain if the cable crackles or the switch is unreliable.
Compare it with a compact stereo microphone from brands such as Rode, Deity, or Sennheiser. Those alternatives may offer different mounting systems, lower weight, or stronger wind protection. A lavalier system is usually the better choice when one person is speaking directly to camera. A small recorder from Zoom or Tascam can provide more control if you are comfortable syncing audio later.
The DM-E1's advantage is integration. It is a familiar, camera-top solution with no wireless pairing and no separate recorder workflow. Its disadvantage is the same: the microphone remains far from the subject, and it depends on the camera's preamps, menus, and input quality.
My practical recommendation
I would recommend the Canon DM-E1 directional microphone to a Canon camera owner who wants better on-camera sound, understands its range limits, and values a quick setup. I would not recommend buying it as the only microphone for interviews, weddings, or serious documentary work. In those situations, put the microphone closer to the speaker first, then think about brand and pattern controls.
When testing a used Canon DM-E1 directional microphone, bring headphones and a camera if possible. Record silence, speech, and a short handling test. Change the pickup modes while recording, listen for switch noise, inspect the battery compartment, and confirm that the cable seats firmly. These checks take minutes and can prevent an irritating return.
The most useful upgrade may be a better habit rather than a more expensive accessory: monitor audio, control the distance, protect the microphone from wind, and record room tone. If the DM-E1 fits your camera and your shooting style, it can be a calm, practical addition rather than another piece of gear to learn under pressure.