A smudge on the front element can turn crisp window light into a hazy, low-contrast photograph. Learning to clean camera lens with microfiber cloth is simple, but the order matters more than the amount of pressure you use. A lens is not as fragile as people sometimes suggest, yet its optical coating can be damaged by grit, a dirty cloth, or an enthusiastic circular scrub. I have cleaned lenses before commercial shoots, after beach walks, and in the middle of dusty locations. The safest routine is slower than wiping with a shirt, but it takes less than two minutes.
What you need before touching the glass
Start with a clean, high-quality microfiber cloth made for optical surfaces. Eyeglass cloths can work if they are fresh and free of grit, while a dedicated lens cloth from brands such as Zeiss, Nikon, or CamKix is a safer purchase. Keep several in separate, sealed bags. A cloth that has been loose in a camera bag can collect sand, metal dust, and crumbs that act like fine sandpaper.
You should also have a manual air blower, such as a Giottos Rocket-Air or a similar bulb blower. Avoid canned air because its propellant can spray liquid onto the lens, and the force can drive dust into the lens mount or camera body. A soft lens brush is optional, but I prefer a blower for most situations. If you use cleaning fluid, choose a solution specifically labeled for camera optics. Household glass cleaner, rubbing alcohol, and tap water are poor substitutes because they can leave residue or affect coatings.
Before you clean, move indoors or find a sheltered spot. Turn off the camera, remove the lens only if necessary, and place the rear cap on immediately. Good light helps you see fingerprints without making you handle the glass repeatedly.
The safe way to clean camera lens with microfiber cloth
First, inspect the surface at an angle. If you see loose dust, do not begin with the cloth. Hold the camera with the lens facing downward and use several gentle squeezes of the blower from the side. Do not poke the blower tip against the glass. Gravity helps the particles fall away instead of sliding across the front element.
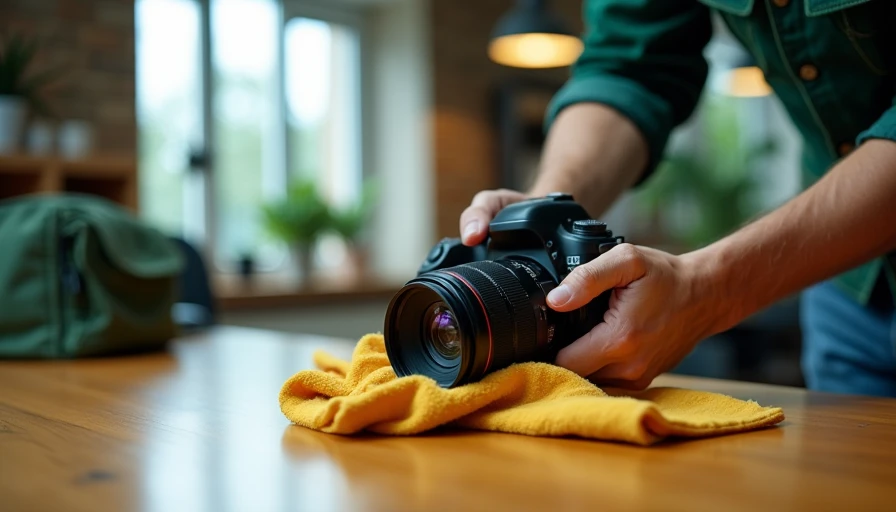
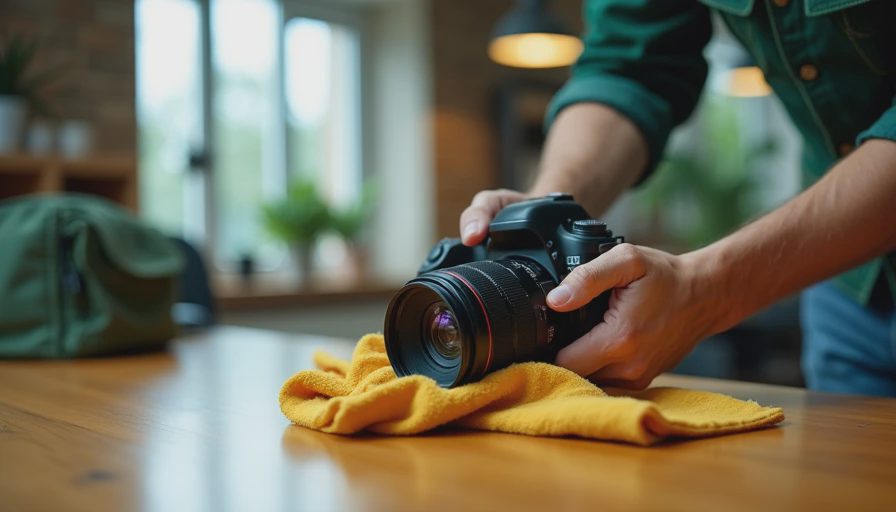
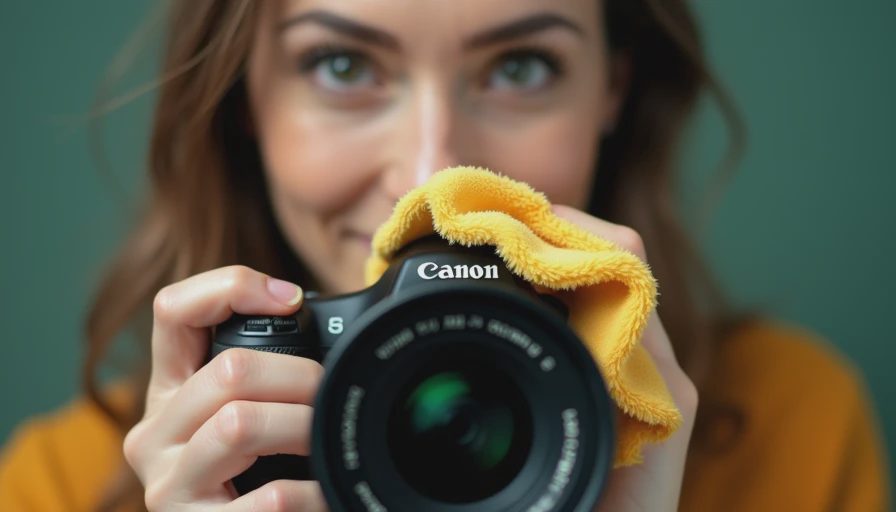
Next, fold the microfiber cloth into a clean section. Lightly place it against the lens and make one slow pass from the center toward the edge. You can use a gentle spiral motion, but there is no benefit to pressing hard. If a fingerprint remains, add one small drop of lens-cleaning fluid to the cloth, never directly onto the lens. Make another pass, then use a dry portion of the cloth to remove any remaining film.
The phrase clean camera lens with microfiber cloth describes the wiping step, but dust removal is the part that prevents scratches. A cloth cannot safely pick up a grain of sand if you drag it over the glass. That is why I treat air blowing as step one, not as an optional extra.
Afterward, examine the lens again under an angled light. A faint ring around the edge is often residue from a filter or from cleaning solution. One clean, dry pass should remove it. If marks remain inside the lens, or if you see fungus, haze, or moisture behind the front element, stop cleaning the exterior and have the lens inspected.
How often should you clean a camera lens?
Clean only when the glass needs it. A few specks of dust usually have no visible effect on a photograph, especially on a wide-aperture lens. Repeated wiping creates more opportunities for scratches than leaving harmless dust alone. I generally blow off the lens after a dusty outdoor session, then wipe it only when fingerprints, sunscreen, rain spots, or sea spray are visible.
A UV or clear protective filter can make sense for beach work, crowded events, or locations where the front element could be struck. It does not make every lens safer automatically. A cheap filter can introduce flare, ghosting, or reduced contrast, particularly when shooting toward a bright window or the sun. If you use one, choose a reputable multicoated filter and keep its surface as clean as the lens beneath it.
Photographers who work around saltwater should be especially deliberate. Sea spray contains residue that can dry into stubborn spots. Blow away loose particles, dampen the cloth slightly with optical cleaner, and wipe gently. Never rub dried salt aggressively. Several light passes are safer than one forceful pass.
Common mistakes that cause damage
The most common mistake is using a T-shirt, paper towel, tissue, or napkin. These materials can contain fibers or trapped particles that leave fine marks. A clean-looking shirt is not the same as a clean optical cloth. Washing microfiber cloths with fabric softener can also leave a coating behind, so wash them separately with mild detergent and let them air-dry.
Another mistake is spraying cleaner onto the lens. Excess liquid can run into the lens barrel, filter threads, or electronic contacts. A barely damp cloth is enough for a fingerprint. If the cloth feels wet, it contains too much solution.
People also tend to clean the rear element less carefully than the front. The rear element is closer to the sensor, so handle it gently and use the same blower-first method. Do not insert cotton swabs or tools into the mount. If a mark will not lift with a controlled external cleaning, professional service is cheaper than replacing a damaged optical assembly.
Finally, avoid breathing on the lens as your standard method. It can seem convenient, but moisture from your breath can leave a film, and particles near the glass may be dragged across the coating.
A practical travel routine
I keep one blower, two sealed microfiber cloths, and a small bottle of lens solution in a zippered pouch. Before leaving a location, I check the front element, rear element, and viewfinder. If the lens is merely dusty, I use the blower and put the cap back on. If there is a fingerprint, I clean camera lens with microfiber cloth before packing it, because a fresh smudge is easier to remove than one baked on by heat.
At home, I separate used cloths from clean ones. I inspect the lens under a desk lamp, clean the filter if one is attached, and store the camera with both caps in place. This small routine protects the gear without turning maintenance into a ceremony.
The simple rule to remember
The safest way to clean camera lens with microfiber cloth is to remove loose grit first, use minimal pressure, and reserve fluid for genuine smears. A clean cloth matters more than an expensive cleaning kit, and patience matters more than speed. If you understand what is on the glass and what the next step is removing, you are unlikely to cause trouble.
The best camera is the one you understand. That includes understanding when a lens needs attention and when a harmless speck should simply be left alone. Clean camera lens with microfiber cloth when fingerprints or residue affect the image, store your supplies carefully, and your optics should stay ready for the photograph that matters.