A telephoto lens for iPhone is one of those accessories that sounds simple until you compare it with what the phone already does. If you buy one for the wrong reason, you can end up with softer files, darker indoor shots, and a small piece of glass that lives in a drawer. If you buy it for the right reason, it can make portraits cleaner, tighten travel scenes, and give you a more natural-looking perspective without backing up into traffic. I have spent enough time testing lenses on real shoots to know the difference between a neat gadget and a tool you will actually reach for.
What a telephoto lens for iPhone actually changes
A telephoto lens does one basic job: it narrows the field of view. In plain English, that means the camera sees less of the scene and fills the frame with your subject. On a phone, that usually gives faces a more flattering look than the ultra-wide camera, because you stand farther back and avoid the stretched edges that happen when you get too close.
It also changes how the background feels. The background does not truly get bigger; you are simply framing from farther away, so the distance between subject and background looks compressed. That is why a person in front of a mural, a line of palm trees, or a mountain ridge can look more polished with a longer focal length. Apple’s built-in telephoto cameras on Pro models already cover a lot of this ground. If your phone has one, start there before buying anything external.
Where an add-on lens still matters is reach and flexibility. A clip-on optic can push you beyond the phone’s native camera options, but it also asks for better light, steadier hands, and more careful alignment. That tradeoff is normal. Lenses always ask for something in return.
When a telephoto lens for iPhone is worth buying
I reach for a telephoto setup when I want portraits, distant details, or cleaner-looking candid shots from across a room. It is useful for a child on a sports field, a street scene you do not want to invade, a sign across an intersection, or a travel detail that would look cluttered if I used the main camera. The longer view can make a simple frame feel intentional instead of busy.
This is the point where a lot of people overbuy. If most of your photos happen indoors, in dim restaurants, or at family gatherings after sunset, a telephoto accessory will not magically fix the light. In those situations, the main camera with a brighter aperture, a steadier hand, or a small tripod often does more for image quality than extra reach. That is why the best first question is not “How strong is the lens?” but “What problem am I actually trying to solve?”
If you want a practical budget, a decent clip-on telephoto can land anywhere from about $30 to $150, while a higher-end system with a case, mount, and branded glass can cost more. That is still cheaper than many standalone cameras, but only if you will use it often enough to justify the extra steps.
How to judge sharpness before you spend
Sharpness is where marketing gets slippery. A shiny product page will talk about magnification, but the useful question is whether the lens stays sharp enough across the frame to be worth carrying. Center sharpness matters most for portraits and subject shots. Edge sharpness matters more if you shoot architecture, landscapes, or scenes with important detail near the borders. A lens that looks fine in the middle but falls apart at the corners will disappoint you faster than you expect.
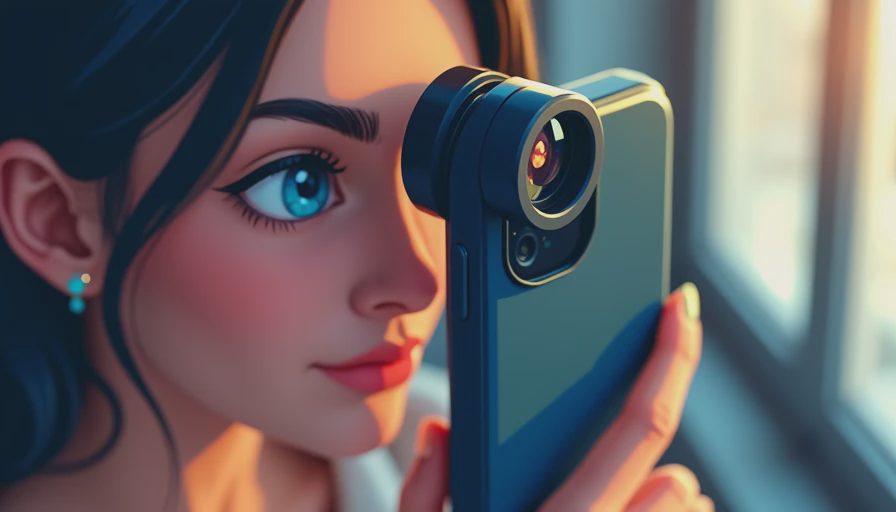
Pay attention to the mount as much as the glass. If the lens shifts, tilts, or fails to sit squarely over the camera, you will see dark corners, uneven focus, and weird reflections. Good coatings also matter because mobile lenses often work close to reflective glass and bright point light. In practice, I look for a secure case or clamp, a clean alignment path, and a reputation for consistency from brands like Moment or Sandmarc. That does not make them perfect, but it does put them in the category of gear that behaves like gear instead of a toy.
One more detail: more magnification is not automatically better. A modest telephoto often delivers a cleaner image than a very aggressive one because the lens is easier to keep bright and sharp. For most iPhone users, that is the sweet spot.
The shooting habits that make the lens look better
The lens does not do all the work. If you want the files to look good, give yourself a little room to move. Step back far enough that the subject fills the frame without crowding the edges. Hold the phone with two hands and brace your elbows when the light drops. Clean the camera glass before you shoot, because a fingerprint on a phone lens can flatten contrast in a way that no sharpening slider fully fixes.
I also recommend shooting in bright shade or direct daylight first. That is where a telephoto accessory looks most convincing. Indoors, the same lens may force the phone to raise ISO, which adds noise and softens detail. That is not a failure of the lens; it is the physics of less light passing through a longer optical path. If you understand that tradeoff, you stop asking the lens to do a job it was never built for.
For people who like a quick rule, think of it this way: use the longer view for framing, then use better light for quality. Those two habits do more than any spec sheet.
When I would skip the accessory entirely
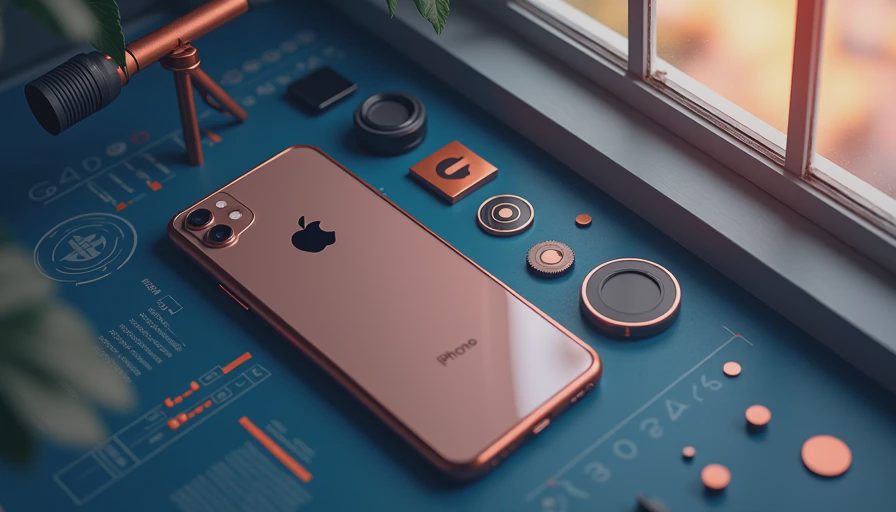
If your current iPhone already has a strong built-in telephoto camera, the external lens may be redundant for everyday shooting. Current Pro models often cover enough reach for portraits and casual detail work that the money is better spent on a small tripod, a MagSafe mount, or even a compact LED light. Those accessories improve the shots you will make most often, not just the ones you hope to make someday.
I would also skip the lens if you mostly crop later from the main camera and are happy with the results. Cropping is not glamorous, but it is simple, and simple tools get used. On the other hand, if you love portraits, travel details, and the look of a longer focal length, the right accessory can earn its keep quickly.
My advice is to buy the least complicated setup that solves the real problem in front of you. That is the same rule I use with bigger cameras, and it works just as well here. The best camera is the one you understand, and the best lens is the one you will actually carry, mount, and use when the light is good.